
I saw a post a few days ago about a two-ingredient microwave omelette created by Michelin-star chef José Andrés.
You can read the original article here if you’re curious:
https://www.allrecipes.com/we-tried-jose-andres-microwave-omelet-11752917
Now, I’m not sure I’d personally call this an omelette. To me, an omelette has cheese, onions, ham—stuff. But whatever you want to call it… it is delicious.
How To Make It:
- Crack the egg into a small microwave-safe dish. (I’ve been using a small Pyrex bowl.)
- Add the mayo. (Some sources say to use 1 tablespoon of mayo, but that feels like a lot to me. I use about a teaspoon—I don’t measure it exactly, just scoop out a tiny bit with my fork and eyeball it.)
- Whisk it really well until it’s fully combined.
- Microwave for about 40 seconds. (Timing may vary depending on your microwave.)
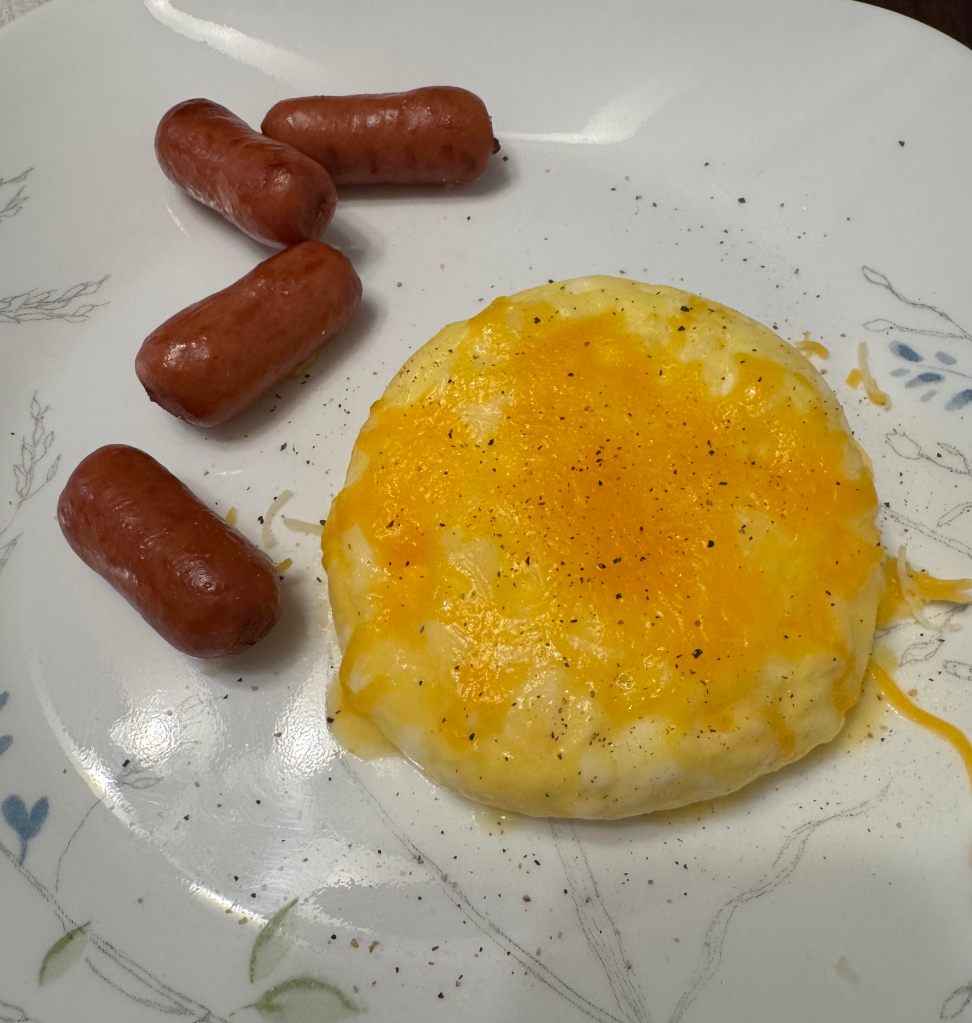
- Carefully remove it, flip it onto a plate, and season with:
- A sprinkle of cheese
- Salt and pepper
That’s it.
Honestly, it’s one of the best eggs I’ve ever had. It comes out fluffy, rich, and way more satisfying than you’d expect from something made in the microwave. I’ve made this three times in the past couple of weeks already. It’s quick, easy, and a great way to start the morning with some protein—especially on days when I don’t feel like cooking a full breakfast.
You could absolutely turn this into a sandwich if that’s your thing. Since I’m going a bit lower on carbs right now, I’ve been having it with a few small smoked sausages. Next week, I’ll probably pair it with two slices of center-cut bacon and some fruit.
Simple. Flexible. No fuss.
If you try it, let me know what you think—I’m always curious how other people tweak it.


